Bullet Journal Hacks You’ll Wish You Tried Sooner
Bullet journals are a fantastic way to get organized and stay productive. They’re also great for mindfulness and getting creative. But sometimes we just need the process to be easier and faster – and that’s where these awesome bullet journal hacks come in. They’re simple things you can try to make your bullet journaling that much more fun and helpful.

(Transparency note: I often link to resources in my blog posts that I believe are useful and these are sometimes affiliate links. That means if you choose to purchase through my links, I may make a small commission with no extra charge to you. For more info you can read more in my privacy and disclosure policy.)
Envelopes for Bullet Journal Storage
There are a few bullet journals out there that come with a back accordion pocket for storing receipts, cards, stickers, or other go-to information or supplies. Others don’t but that shouldn’t stop you from adding your own.
You can either make your own back accordion pocket from scratch, or you simply take a pretty card envelope or a manila envelope (like this one) and paste it into the back of your bullet journal. Feel free to decorate it a bit if it’s too plain for your taste.
You can even put one in the front and one in the back so that you have a space for things like receipts on one side, and supplies on the other. This is my personal favorite way of doing it because the more
Binder Clips For a Flat Bullet Journal
Some bullet journals lie flat easily, but others do not. When you’re trying to decorate your latest spread or just take a good picture of it for Instagram, it can be more than a little difficult if it won’t lie flat. Using binder clips to keep your pages open and flat while you’re working can make all the difference in the world. Just pin one to each side – and voila! Flat open book so you can started.
Needless to say you can use binder clips for other more obvious purposes as well – as a bookmark, to clip in inspiration or additional pages, to hold a pen on to the edge of your bullet journal or just to keep it decorated.
Washi Tape for…Everything?
Washi tape is ridiculously versatile and can make your bullet journaling life so much easier. It can help you make a layout faster, help you keep things organized and just
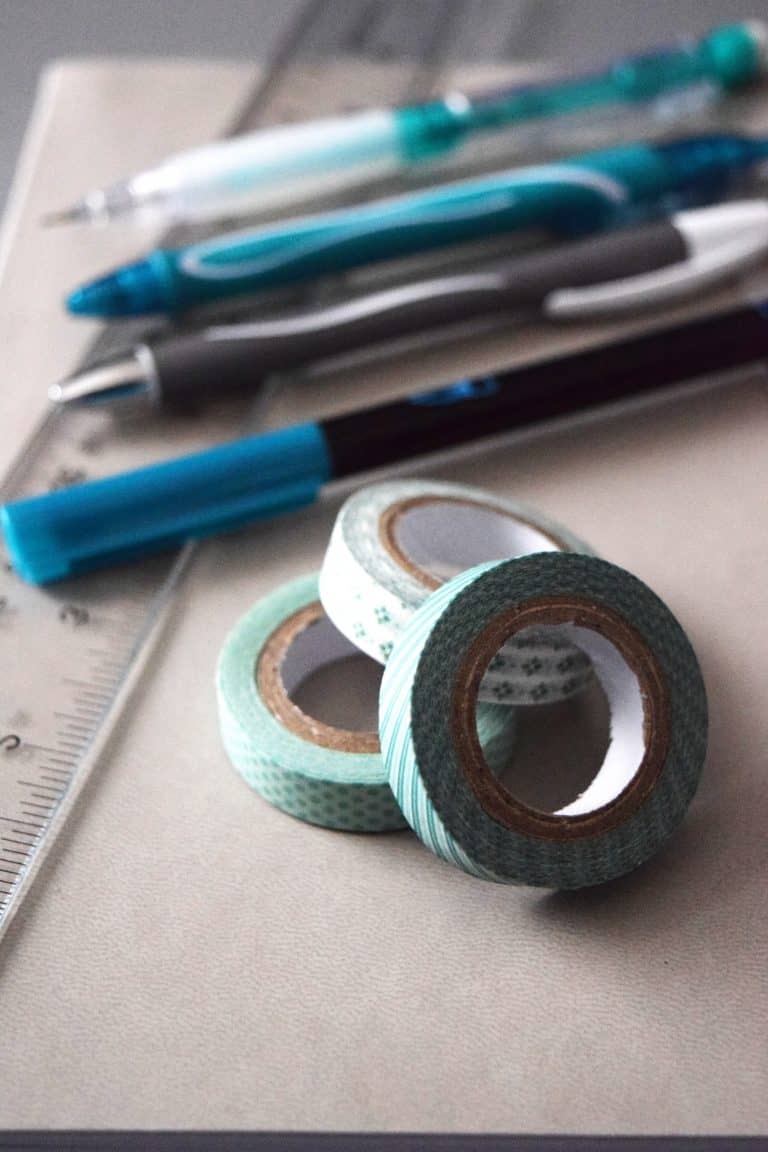
If you’d rather not doodle or drawing isn’t your thing, you can easily apply some washi tape to your pages to dress a layout up. You can use thin washi to outline your daily boxes, or just use a thicker piece to line the top and bottom of the page to add some decoration to your edges.
You can also wrap washi tape around the edge of a page as a marker. I’ve used this technique before to mark the start of my months so I can easily flip to them. You can use different colored washi for this, or get even more creative with seasonal themes – flowers for spring and pumpkins for fall for example.
You can also use washi tape to create hinges and add in extra pages or flip outs as you need them, or to reinforce page edges that are prone to a lot of use or need repair from a rip.
Honestly, the limits of washi are only the limits of your imagination!
Dutch Doors for Less Migrating
So dutch doors actually take some extra work and effort, so I hesitate to add them as a hack since hacks are supposed to be about making things quicker, easier and more efficient. But, once you have them set up, dutch doors can be super useful and cut time out on creating and recreating multiple weekly spreads
Dutch doors make it possible to have all of your week flips in a small condensed center of your spread, while the areas around it can be filled with monthly to do lists, habit trackers, and more. So now, instead of having to recreate your habit trackers and to do lists over and over, or migrating information and doodles repeatedly, you can just flip to the next mini week in the center.
Bullet Journal Elastic Band as Pen Loop
Some bullet journals come with a built in a pen loop, and you can also buy one pretty easily as well. But if your bullet journal doesn’t have one and you’d rather not spend the extra money, just take the elastic band and stretch it over the side of your notebook. Tuck your pen in, using the pen clip to help it stay put.
Stickers for Jazzing up Your Journal
Much like washi, stickers can make your bullet journaling so much easier, or save you from having to hand letter every page. Or if you’re like me, and still working on your penmanship and hand lettering, save you from some less than awesome screws up. (Scrapped pages anyone else?)
You can either make your own using sticker paper and printables, design some on your cricut or just buy some. Amazon and Etsy both have some really cute options!
Printables for Super Easy Monthly and Weekly Layouts
You guys know that I love making my own printables. In fact this year, I’ve been using them a ton to help me save time on recreating layouts and because I’m a bit of perfectionist and like the finished look printables give me. Plus, I tend to bind my own bullet journal these days so they work great. (Check out the bullet journal printables in our shop)
Even if you’re not a perfectionist or you love designing your monthly layouts each month, there are probably going to be occasions where you’re pressed for time or simply need to be more efficient and that’s when printables come to the rescue!
There are a number of ways you can easily incorporate them into your journal. The first is to paste them in (I like to use this kind of glue as its easy to use and not messy at all). Washi tape is another option as well. The next is to print them on sticker paper and stick them in – also super simple. A less permanent option is to use elastic bands to center them in like you would in a traveler’s notebook after you’ve stitched or stapled them. This makes things a little bulky, but is an option for a spread you might want to move around like a habit tracker or to do list.
Dot Count Keys
Your probably have a favorite layout – whether its monthly, weekly or something else. And you’ve probably had to go back and count the dots to make sure you get your spacing right when you try to remake the same layout – once or maybe a couple dozen times.
That’s where dot count keys come in. Once you’ve got your favorite layouts down, you can count the number of dots in your space and note them so that you only have to flip back to that page rather than recounting. I’ve seen people put these in all sorts of clever places in their bullet journals. You can try putting them in your actual bullet journal key, or on a bookmark that you move through the journal as you work. My favorite that I’ve seen so far is using washi tape to create a flip out that you can reference.

Color Codes to Keep Your Organized at Glance
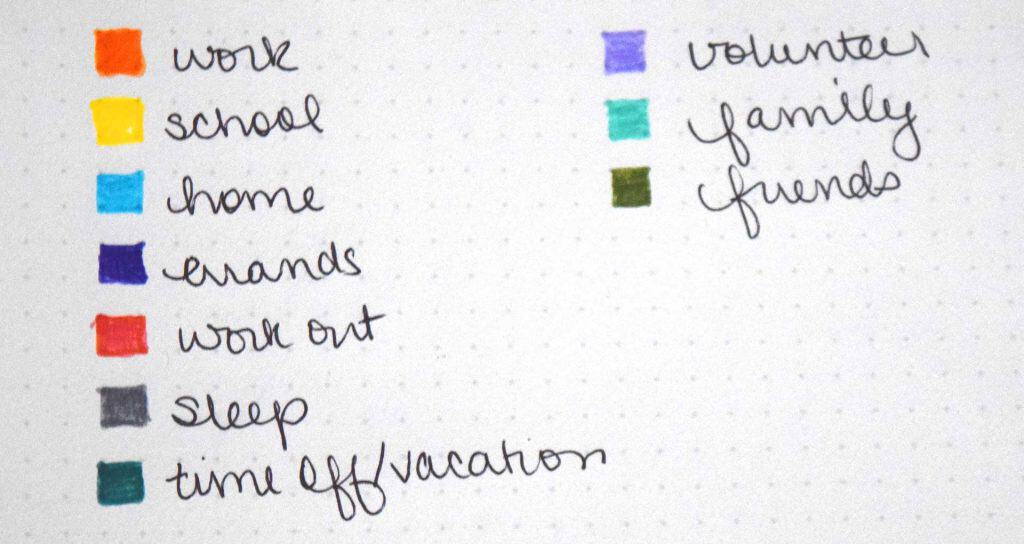
I talk at length about using color codes in my guide on how to make a bullet journal key work for you. Needless to say they can help keep you extra organized in your journal and can help you understand your day with just a quick glance – blue for a doctor’s appointment, orange for a trip to the grocery store, etc.
You can get as simple or as complicated as you want with color coding your bullet journal. If you’re just starting out, I recommend making your color code part of your bullet journal key or creating a bookmark with your color coding so you have an easy reference point until you’re set on what you like.
Collections Only Journals
Do you hate migrating your collections every year? Wish you could keep all of your book spreads together, or all of your movie spreads together? That’s what a collections only journal is for.
If you have collections you know will be long or will be extra precious, I recommend separating them out into their own separate volumes. Collections tend to not be the kind of thing you need to take with you wherever you go anyways, so putting them in a journal you can store on a shelf just makes sense. Plus, collections only journals make great keepsakes. You can pour over them years later to explore, without having to page through your daily planning to enjoy them.
I also love the idea of getting an extra fancy bullet journal for this purpose, one that can be a keepsake. You can either make your own, or you can get a really beautiful one online.
Bullet Journal Traveler’s Notebook
I love a hardbound bullet journal as much as the next person, but I’ve been really loving using the traveler’s notebook style of bullet journaling lately. It helps with some of my biggest frustrations that I have with bullet journaling – namely being able to move things around, and get rid of things if I don’t like them.
I can make each little notebook a monthly layout onto itself, and best of all I can easily incorporate my printables. Oh, and there are so many beautiful traveler’s notebook covers out there that you can switch up your style whenever you feel like it by simply swapping them out. And, if you have a larger cover you can still include an entire hardbound bullet journal in the mix if you so choose. It’s pretty much perfect for those of us that are super picky!
Disc-bound Bullet Journal or Binder Bullet Journal
If you really like to move your pages around, there’s another step even beyond the traveler’s notebook method – using a disc-bound bullet journal. It allows you to move every single page around, tear out pages when you mess up and replenish them with fresh new pages. If you want to move a collection or you want to archive pages you’ve finished – you can do it all! And incorporating your printables just got super easy.
I’ve spoken to quite a few people who get terrified of messing up their hardbound journal, and have scrapped entire $20 journals because they made mistakes and felt they had to start all over again. It can be wildly intimidating and also mess with the whole point of your bullet journal – getting organized, productive and creative. If this is a challenge for you, I highly recommend trying the disc-bound or binder system for your bullet journal. All you need is paper, discs, and a discbound punch.
Do you have other ideas for bullet journal hacks? Let me know in the comments below!


