Junk Journal Binding: How to Stitch Your Junk Journal

Once you’ve created your junk journal signatures and your junk journal’s cover, you can move on to binding your junk journal. There are tons of different ways to stitch your journals, but one of the first you’ll want to learn is saddle stitching. Below we’ll explain how to prep your cover for stitching and how to saddle stitch your signatures into your premade cover.
Transparency Note: This post may contain affiliate links. That means if you choose to purchase through my links I will make a small commission through no extra charge to you. You can read more on the privacy policy and disclosure.
What is Saddle Stitching?
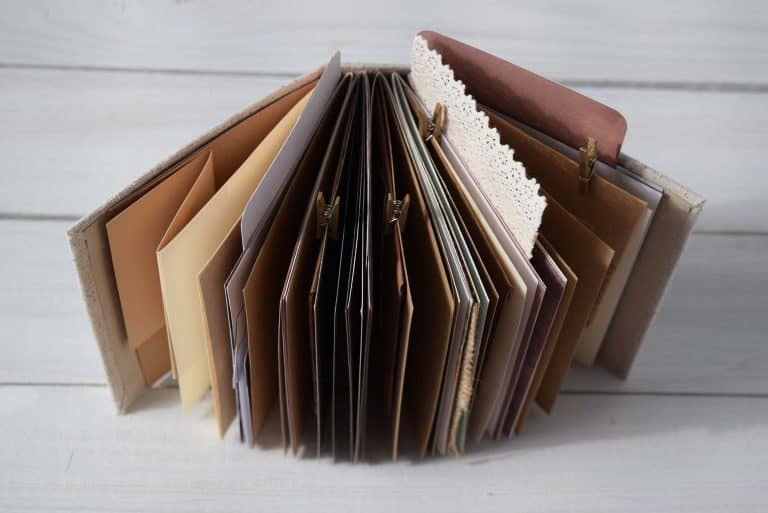
Saddle stitching is a simple stitch that allows you to stitch your signatures directly into the spine of your book. You can use it on a handmade book cover or even on an old book cover that you’re repurposing. The stitching will be exposed on the outside of the spine which gives the junk journal character, and you can get creative with different colors of thread. You can even choose to cover up the stitching if you don’t like it with additional paper, lace or washi tape.
How to Saddle Stitch a Junk Journal
Measuring Your Signature Position Before Binding Your Junk Journal
First, mark the position of the signatures. I use a pencil to mark lightly on the lining, Depending on the lining, hopefully it will erase easily. Otherwise, don’t worry – the signatures will conceal the marks.
Let’s figure out the spacing. Take the width of the spine and divide it by the number of signatures plus 1. Mark the center of your spine. If you have an odd number of signatures, that mark is your center signature. If you have an even number of signatures, you will need to measure half your signature spacing on each side of the center line. Those are your center two signatures. Continue to mark out from the center the position of each signature.
Time to mark for the actual through holes. I usually mark 1” increments from each edge. You don’t need to continue every inch, but need at least two holes on each side. Using a thumbtack or a book awl, start poking the holes. If I am using a paper backing, I will start the holes from the inside, but finish them by poking through from the outside to try to minimize the amount of paper that gets pushed outside. This isn’t as necessary with cloth covers.
Creating Holes in Your Cover
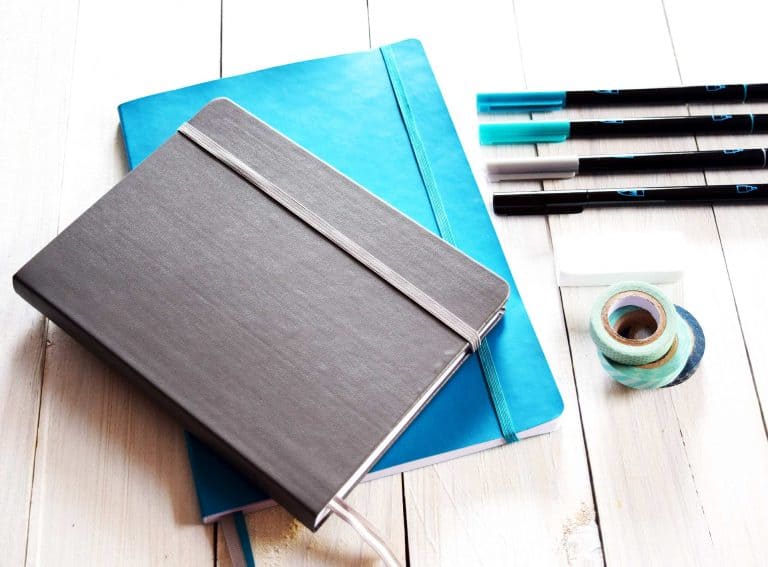
Your cover is good to go and ready to stitch the signatures in! Start by poking holes in each of the signatures to match the holes already punched in the cover. You may want to fashion a template to make this process go a little faster. With all the holes, you can start stitching. You will want a heavy waxed thread (check out our list of junk journal supplies for beginners for where to get waxed thread). The thread will be visible on the outside, so make sure that you like the color. Thread your need and get started.
How to Saddle Stitch Your Junk Journal
The saddle stitch as about as easy as they come. Send your needle through the center hole in your first signature, then out the corresponding hole in the cover. Then pass it back through the next hole in the cover and back through the signature. Weave the needle back and forth like this until you get to the last hole, then start weaving back the other way. That’s it!
The result should be that you have a stitch between each of the holes on both the inside and outside. When you get back to where you started, tie the ends off with a double knot and trim off the excess thread.
Saddle Stitching Tips
A couple of things to consider as you stitch each of the signatures:
- When you’re threading through a hole that has already been threaded once, you’ll probably end up piercing the thread that’s there. This really isn’t a problem, except that it locks the thread in place, which will stop you from pulling your stitches tight later. You will want to pull out any slack as you go to avoid having sloppy loops later.
- Generously sized and well aligned holes make a world of difference. Mistakes and exposed knots add character! If you get good at binding, doing case bound journals, or kettle stitch or whatever, you may get to a point where you want to minimize the appearance of knots. But junk journals are all about the mixed media, and tactile nature of the journal – own the knots and hand stitching! That’s what makes it beautifully handmade after all.
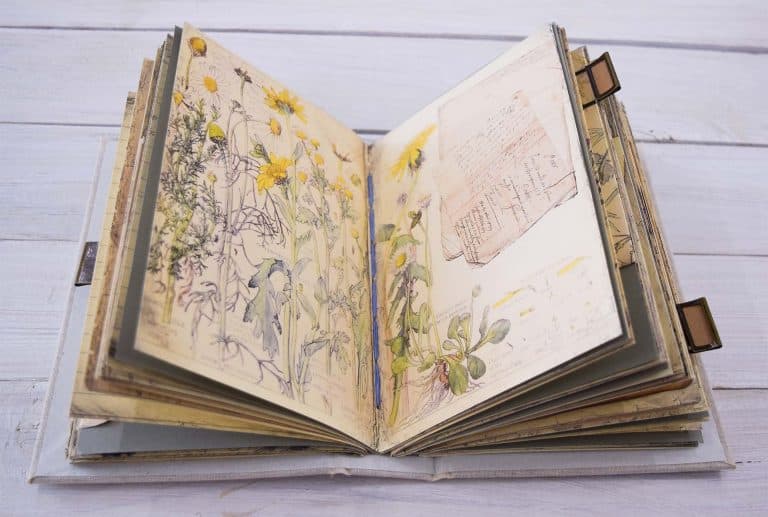
Above all… Have fun, be creative, and be proud of what you’ve made! Junk journals are all beautiful in their own way.
For a complete overview, check out our guide: How to Make a Junk Journal