How to Criss-Cross Stitch a Junk Journal
Something I’ve started trying recently and gives my journals an entirely new look is the criss-cross stitch. The basic premise is this: pass the thread out of one signature and into another, then repeat. Implementing it is a bit more complicated, but not difficult if you take some time to plan.

(Transparency note: I often link to resources in my blog posts that I believe are useful and these are sometimes affiliate links. That means if you choose to purchase through my links, I may make a small commission with no extra charge to you. For more info you can read more in my privacy and disclosure policy.)
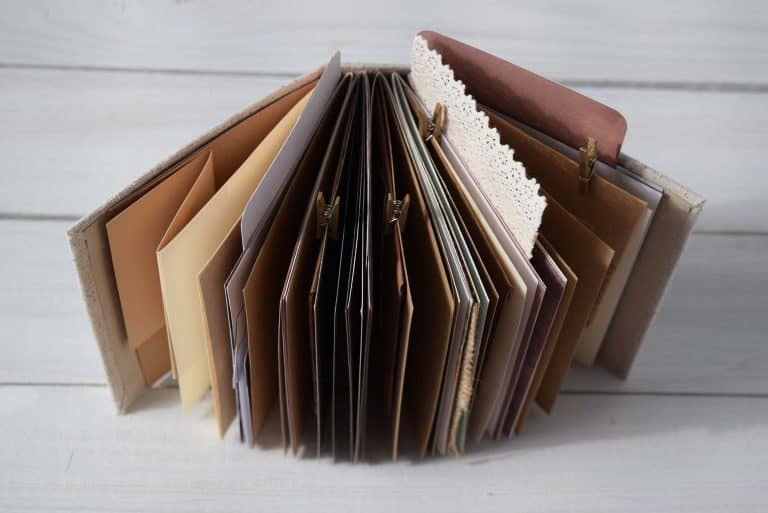
Assemble your signatures and check the height of them stacked in order to decide how wide your spine needs to be. I typically need ¼” per signature, which gives ample room to add ephemera and such. You may need more room for extra bits and bobs or less to get that overstuffed look.
Once you’ve decided on the width of the spine, you can make your cover. I have a few posts on making covers you can use as a reference. While technically you can punch holes in your spine once it is complete, I have started to pre-punch the holes before assembly and sanding down any blowout that occurs. This way I am able to better line up the holes and also can make sure that the spine is completely smooth (which makes it look better in the long run!)
Time to begin planning the stitch. If this is your first time trying this stitch, I recommend a test run, either on a separate piece of board or on your book cover (without the signatures). The pattern will be on the outside of the cover, while the inside must be all vertical stitches, when you sew in the actual signatures, these vertical stitches will be what holds the signatures in place. If possible, try to have a stitch between each of the holes in a signature (like you would with a saddle stitch).
Here is a simple pattern to start with (but watch the video if you prefer a visual demonstration):
How you complete this depends on the number of signatures you have and the number of holes you put in your junk journal. Again, if it’s your first time I recommend using the pattern below to learn the ropes (or stitches in this case!) and then modifying as needed for future journals.
Assuming that you have 5 signatures each with 6 holes, counting from front to back and top to bottom. Go out of hole 1 on signature 2 and into hole 2 on signature 1. Then out hole 1 and into hole 2 on signature 2. Out hole 1 and into hole 2 of signature 3, then continue in that way until the last signature, then back until you reach your starting point.
Each time go out hole 1 and into hole 2 of the next signature. Once you’ve returned to your starting point, the outside will have one row of crosses, while the inside signature will have at least one loop through the top two holes. Now go out hole 3 of signature 2 and into hole 2 of signature 1. Work your way across the signatures and back again, just like the first row. Continue with each of the rows like this until the signatures are completely sewn in. Tie off your thread. Finished.
Lessons after my first couple tries…
- Start from an inner signature. Patterns that I tried to start from an end signature always seemed to miss a stitch somewhere.
- Make the holes in your spine oversized. I ended up threading through each hole 4 times,
- It gets way easier as you go. At first the signatures will be floppy and unruly. The more stitches you have, the easier it gets.
- Book or binder clips can really help hold the signatures approximately in place and keep the center position of each! I highly recommend them.
There’s not much more to it than that. With a bit of planning and some patience, you’ll be easily incorporating this stitch into your junk journals.
Need more help with making your junk journals?


