How to Make Book Cloth

Today we put together a tutorial on how to make book cloth. We’ll take some of your favorite fabric, and turn it into cloth that you can use to easily cover your journals. It also makes gluing easier, and creates a layer that protects your fabric from having glue seep through it. This was a problem I remember struggling with before discovering the wonders of book cloth!
This tutorial on how to make book cloth will walk you through picking fabrics, how to create book cloth, problems you might run into and how to avoid or fix them!
(Transparency note: I often link to resources in my blog posts that I believe are useful and these are sometimes affiliate links. That means if you choose to purchase through my links, I may make a small commission with no extra charge to you. For more info you can read more in my privacy and disclosure policy.)
Why Book Cloth
Book cloth has got to be my favorite method of covering a journal, for several reasons:
-
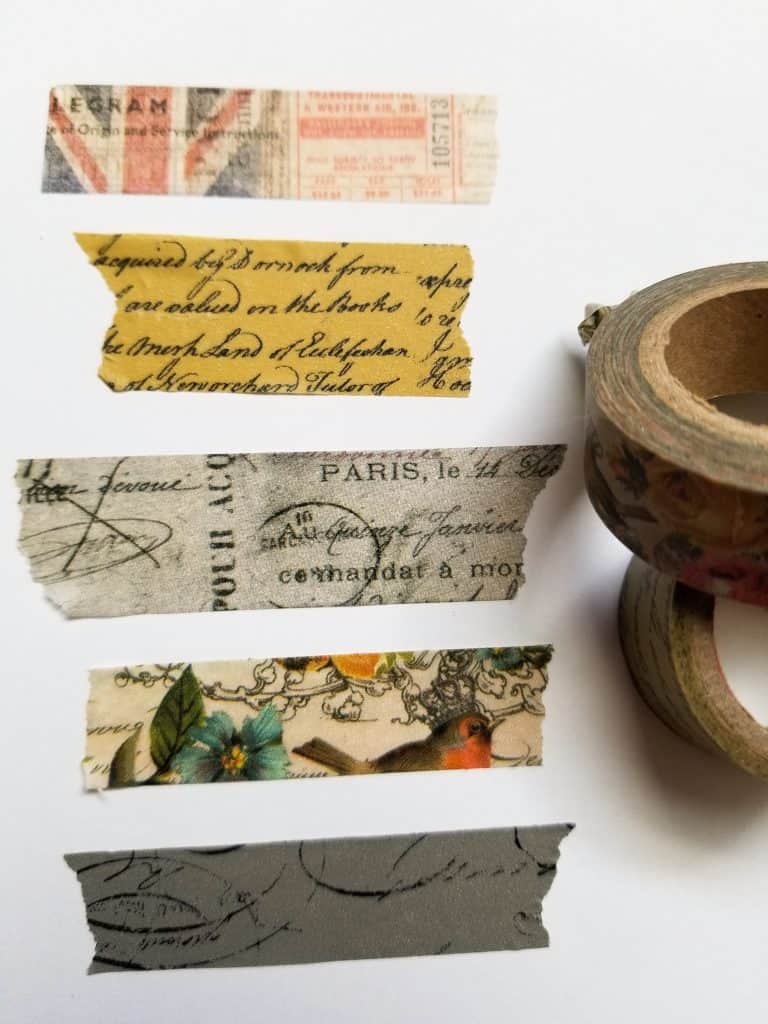
- Diversity. Just walk down the aisle of your local fabric shop. There are literally hundreds of patterns and textures you can use to make your book cloth. You’ll probably find a lot more varieties of fabric designs than you will paper.
- Ease of Use. The single biggest advantage I have found is that you can size the sheets to meet your needs. Do you need a 12” X 19” piece to manage the cover in a single sheet? Good luck finding paper in that size at your local craft store, and what you do find is incredibly limited in colors and designs. Book cloth on the other hand, you’re only limited by the width of your fabric. In addition, properly finished book cloth will give you a wonderfully prepared surface to adhere to.
- Durable. Compared to paper alternatives, book cloth will be stronger and last longer. Paper hinges will need to be heavily reinforced, while book cloth can provide the structure itself. Where some paper may lose its sheen or have its pattern worn off when you spill on it, book cloth can endure.
- Simple to make… so let’s get to it!
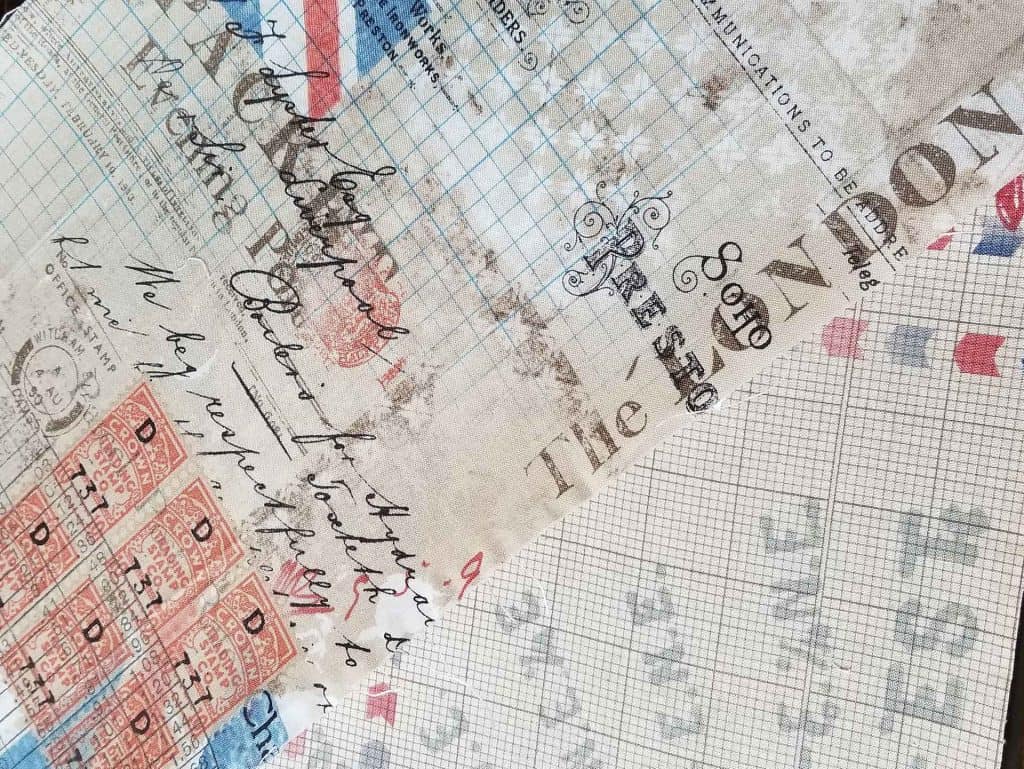
Choosing Fabric for Book Cloth
Let’s start with some considerations for choosing your fabric. My first thoughts are on texture and weave. You are going to be adhering a paper backing on the wrong side of the fabric, so it stands to reason that that side should be relatively smooth and tightly woven. So, low texture and tightly woven is best.You can layer doilies or crochet on top of this book cloth, but you probably don’t want to use them as the book cloth – make sense?
Next factors are weight and pliability. If you cover journals the way that I do, you will need to have sharp bends in the book cloth and will likely be gluing over unfinished edges. For that reason it is best to have fairly thin, light and easy to manage fabric. Last major consideration is the material. This method uses an iron-on adhesive to bond the fabric to the paper, therefore the fabric needs to be heat resistant/proof (i.e. I wouldn’t use my favorite piece of silk). Generally, I stick with cotton blends.
How to Make Book Cloth
-
-
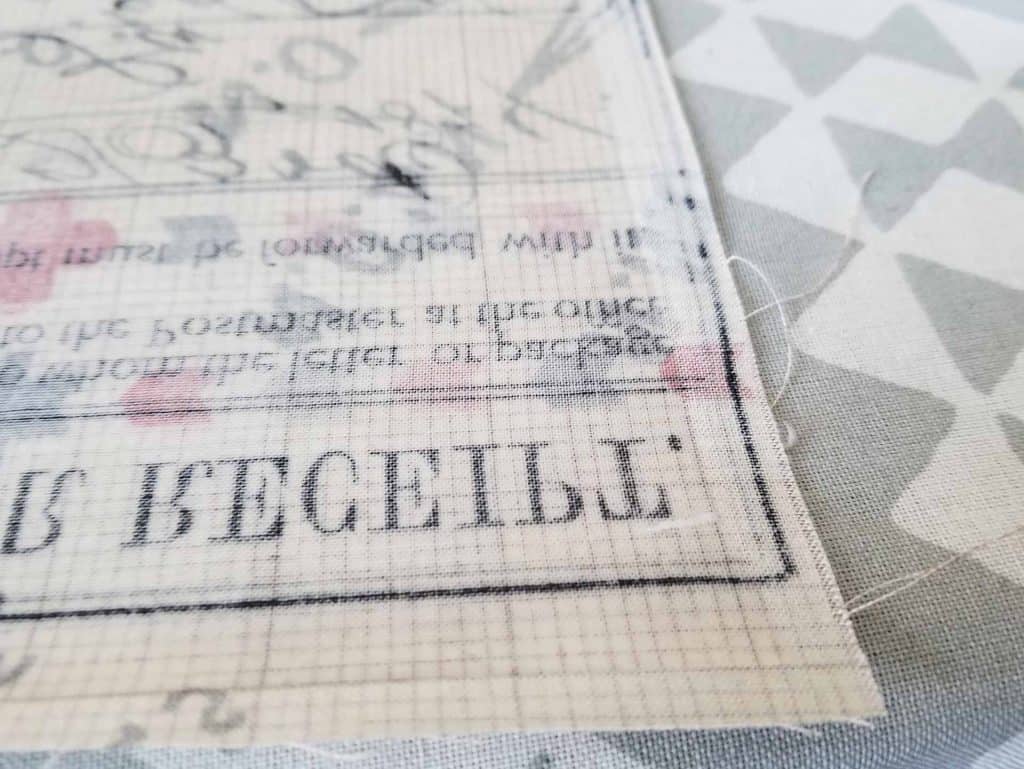
- Pre-wash and iron your fabric. Make sure that all creases are out and don’t expect that the adhesive will allow you any play (I’ve tried to rush on a couple occasions, it didn’t go well). I prefer to trim close to my desired size, leaving a couple inches on each dimension for trimming. Lay the fabric out with the wrong side (the side you don’t want to see) up.
- Cut your adhesive (we use Heat n Bond Ultrahold which you can find on Amazon) sheet to size. Now if you’re using something different than me, follow the instructions for you specific product. For the ultrahold, there will be a papered side and the adhesive side. Lay the sheet onto your fabric with the adhesive side down.
- With the iron on medium heat, and without steam, place and hold the iron on the paper for around 2-4 sec. Then move the iron and repeat. Continue until the entire surface is well bonded, going over previous areas if you need to.
- Peel up the paper. If the you did the last step well, the paper should peal up easily without taking any of the adhesive with it.
- Lay the tissue paper over the adhesive and begin ironing it on in the same way as step 3, holding in each position slightly longer. I find that the tissue paper will appear darker in the areas that are bonded well. You may need need to go back over areas if you see spots that are bright white. Just be mindful not to leave the iron in any one place too long.
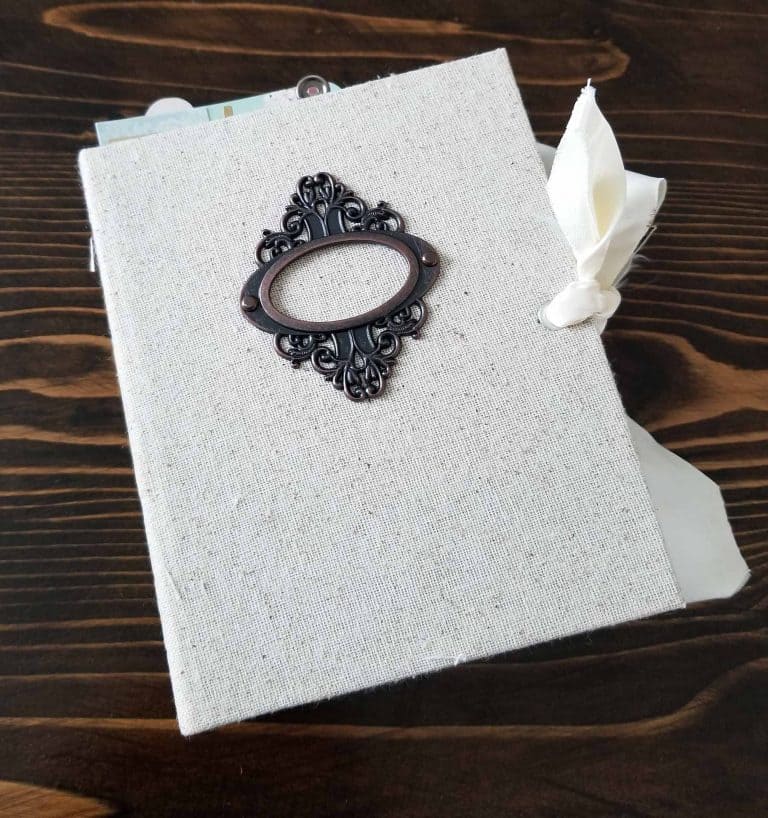
- Your book cloth can now be cut to size and glued to the surface of your journal cover or book. Cheers!
-
Still learning how to make journals? Check out our guide on how to make a junk journal or learn how to make a junk journal cover before you get started with making book cloth. Then check out this resource on where to find free junk journal printables and ephemera to get started today!


I am wondering weather it matters if the tissue paper is buffered or not. When looking for storage of textiles that matters, so I thought maybe the way either is made would make a difference to it sticking when you iron it on.
Great instructions and I like you website. Very informative and helpful!
I collage fabrics on covers. Can I sew through that sticky layer? Does it stick to your needle like tape might, or does it become dry like glue?
Yes. You can definitely sew through it. It’s never stuck to my needle. I would recommend letting it completely cool/dry before sewing though.
Excellent instructions! I have a journal that I love that they don’t make anymore and i found a replacement and the cover is not real strong. The cover is kind of waxy (don’t know how else to explain it but it won’t fold). Do you think i should adhere the cloth to cardboard and then the planner?? Have you ever made a book cloth to go over binder coils?? (i’m not sure what they call them but some of the planners have binder coils) I probably would like the planners better if i didn’t have the coils on the outside. THANKS in advance!!!.
Hi Lynne! Sorry for the late reply! Yes, I’d adhere the cloth to the cardboard and then the planner given that it sounds like the textured surface might make bonding it more complicated. We have made book cloth that goes over binder coils, but for those we typically create pockets that the covers slip into rather than gluing it down so that the the cover has room to stretch over the coils if that makes sense.
I’ve been making hand bound books since 2002, many of the covers using fabric. Rather than use tissue paper, I always use rice paper which is available on Amazon on rolls very inexpensively. This is a better choice because it’s strong and holds up much better to glueing using original white Elmer’s (Not SCHOOL GLUE), wheat paste or whatever you use to glue cover material to book board. In addition, Rice Paper is denser and much less likely for glue to seep through into fabric. Rice paper is also flexible enough when bonded to fabric to allow you to make nice crisp corners without distorting or stretching the fabric.
Yes, that is the way I make it. I am thinking the wet glue method is easier but this method is far less messy!
Yes, that method is a fantastic way of doing it! This is just intended as an easy starting place for folks who’ve been gluing fabric straight to the cover and struggling with the results. We’ve been meaning to make a more advanced version that’s archival standard using pH neutral glue and Japanese papers. Coming up soon, I hope! Thanks for your suggestions!
Great ideas thanks !
I am con fused about what the tissue paper is for? Is it adhered to the cloth to make it stiff? Sorry if I sound like a dufuss.
Hi Denise! That’s a good question. The combination of the tissue paper and the heat’n’bond creates a smooth surface and (more importantly) a barrier between the glue and your fabric – this way glue doesn’t leak through and you can get a thin even spread of it across the surface.