File Folder Journal Insert – Complete Tutorial
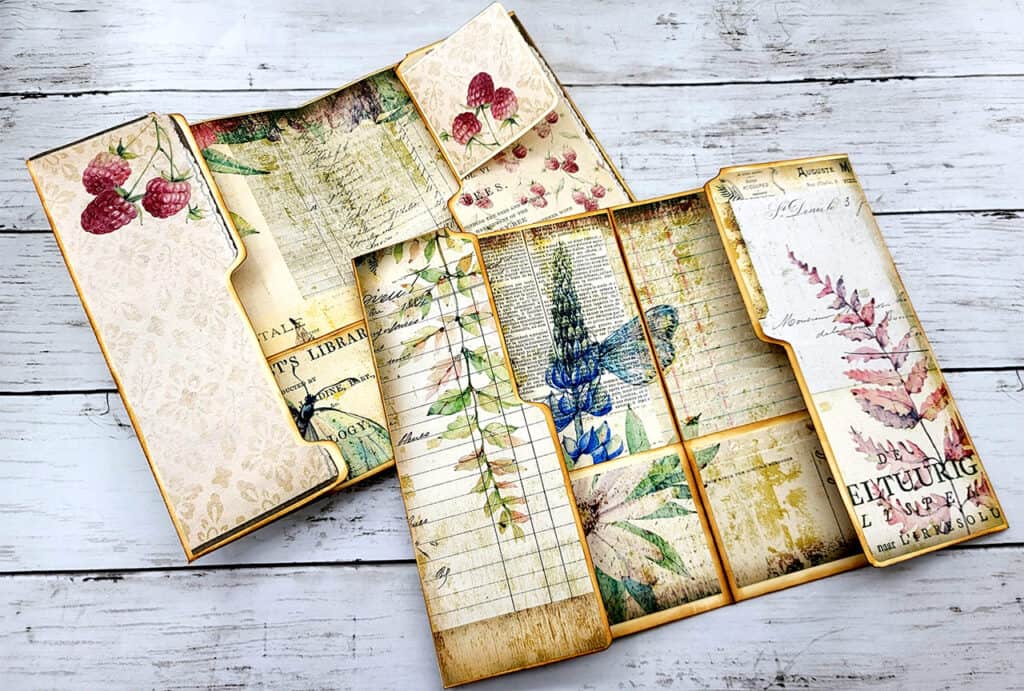
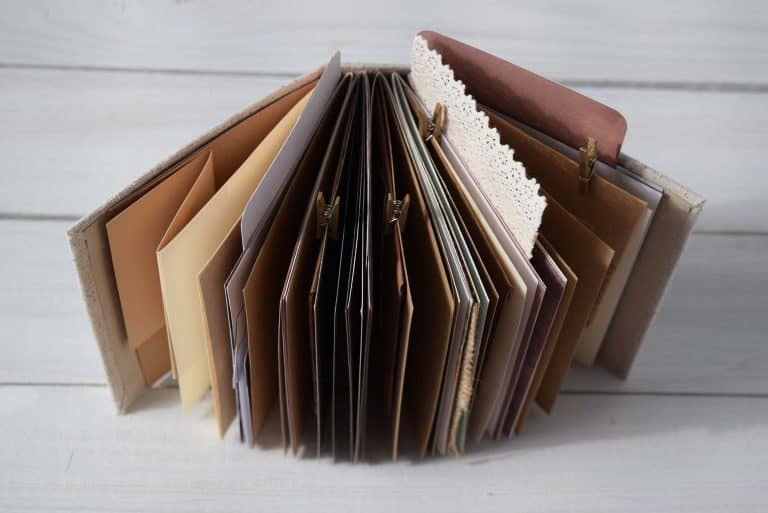
Today’s tutorial is an easy to make file folder junk journal insert that can be made with one file folder! It’s the perfect addition to your junk journal – it can be it’s own signature, you can add a signature inside and you can even use it as a standalone journal with a few modifications. The supplies to make it are simple, and it takes under an hour to complete! For all those reasons I love making these and find them to be a great place to hold extra journal ephemera or writing pages in my journals.

(Transparency note: I often link to resources in my blog posts that I believe are useful and these are sometimes affiliate links. That means if you choose to purchase through my links, I may make a small commission with no extra charge to you. For more info you can read more in my privacy and disclosure policy.)
File Folder Insert Supplies:
- 1 File Folder
- Craft or decorative papers – I used the following kits from my shop:
- Scissors
- Scoring Tool or Bone Folder
- Rotary Paper Trimmer (Optional – I use this one from Fiskers (affiliated)
- Your favorite glue (I use art glitter glue (affiliated)
- Distress Oxide or Ink (Optional – I used Vintage Photo (affiliated)
File Folder Junk Journal Insert Tutorial
Instructions:
This tutorial will create one file folder insert that is 8.5 inches by 5.5 inches and fits into a half US letter size journal.
- Score the file folder on the longest side at the 8.5 inch mark from the top. Then turn the file folder on the shorter side and score on the 5.5 inch mark, if you’d like a little extra room as I recommend in the video – go one tick to the right on the score board (or more). This will help the folds come together easier and allow more ephemera to go inside the pockets.
- Fold along all of the score marks you’ve just made and insure that all of the corners meet up to form the outer shell.
- You’ll have two small squares at the bottom corners of your file folder. These can be removed by cutting them off. Cut on the inner side of the square to allow additional room for your pockets and flaps to meet when fully folded.
- If you’d like to “grunge up” your file folder, now is the time to do it. Grab your Distress Oxide in your favorite color and stamp it on all the edges of your file folder. You do not need to cover the inside of the bottom flap as this will become the inside of our pocket and not be visible.
- Then its time to start matting the file folder insert you’ve created. I start with the inner most back part of the journal. If you like, it will be US letter size and you can simply glue an entire page in.
- But if you’d like the pockets to look like an extension of the back, you’ll want to trim your pocket mattes off first. Each pocket matte is 2.75 inches by 5.25 inches.
- Then you can either leave the remaining piece in tact, or cut it in half at the 5.5 inch mark to create two separate mattes on either side of the fold.
- Glue these mattes on to the appropriate quarters of the file folder.
- Next you’ll want to glue up the bottom pocket. I left this as one big pocket, so you’ll just need to put a strip of glue on each end and allow it to dry. If you’d like the pockets to be separate you can cut them down the middle similar to how we cut the unneeded squares and then glue them each up separately.
- Then its time to matte the front and back covers. A US letter size (8.5×11 inches) will do the job perfectly once you cut it in half at the 5.5 inch mark. The journal pages from the Country Fields Junk Journal Pages kit fit perfectly for this role. Then glue them on.
- Next its time to matte the flaps. I chose to use one page for the outside of the flaps and one for the inside, but you should use whatever you think looks best!
- I place the flaps over top of the back of the craft paper that I am planning to use and trace the shape.
- Then cut along the inside of the line you’ve drawn.
- Trim each of the three straight edges in slightly to make sure there is room for your distressing to show through behind the craft paper.
- Then glue on – either on all sides for a simple matted look, or on three sides to create a pocket.
- Repeat these steps on all four flaps.
- Ta-da! You have a finished file folder insert for your journal. Now you just need to add ephemera or pages to complete it, and sew it into your next junk journal!


Hello from France
This is very very nice ans simply.
Thank you for sharing us.
Happy New Year 2022